Installing rain gutters is a crucial step in safeguarding your home against potential water damage. While it might seem like a daunting task, this guide will break down the process into manageable steps. Properly installed gutters can effectively channel rainwater away from your foundation, reducing the risk of erosion and basement flooding.
Whether you’re a seasoned DIY enthusiast or a homeowner looking to take on a new project, understanding how to install rain gutters will ensure your home remains protected from the elements.
Gutters serve the essential function of directing rainwater away from your roof and foundation, preventing potential water damage, erosion, and costly repairs. Whether you’re a DIY enthusiast looking to undertake this project yourself or someone considering hiring professionals, understanding the process is crucial. This detailed guide will walk you through the essentials of gutter installation, ensuring that you’re well-prepared for this important home improvement task.
When it comes to installing gutters on your house, preparation is key. Before you even purchase materials or pick up tools, take time to assess the layout and requirements of your home. Evaluate the size and slope of your roof. These factors will determine the type and size of gutters you’ll need. For instance, larger roofs with steep pitches may require wider gutters to handle increased water flow efficiently. Additionally, consider any local building codes that might dictate specific requirements for gutter installations in your area.
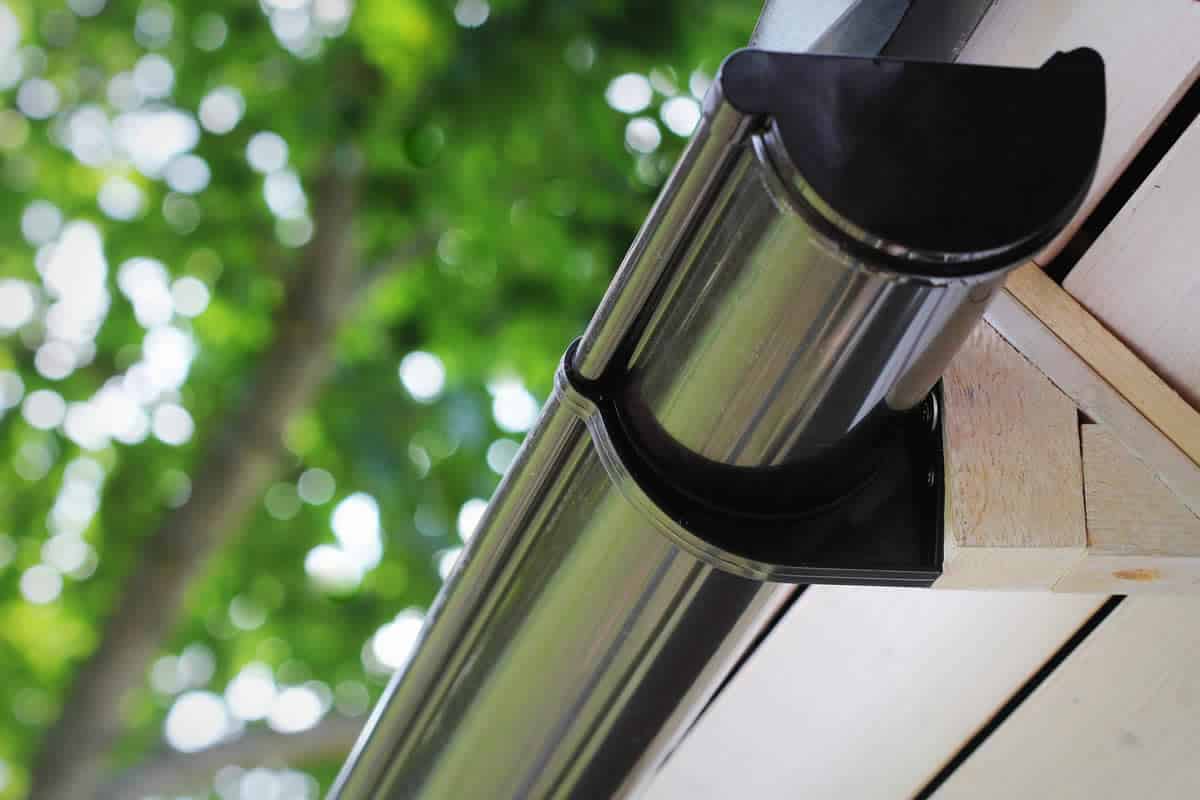
Once you’ve assessed your needs, it’s time to gather materials and tools. Essential materials include gutters (typically available in aluminium, vinyl, steel or copper), downspouts, hangers or brackets, screws or rivets, sealant, and end caps. As for tools, ensure you have a ladder tall enough to reach your roof safely, a tape measure for precise measurements, a hacksaw or power saw to cut gutter sections as needed and safety gear like gloves and goggles.
Start by measuring the roof perimeter where gutters are needed—this measurement helps determine how much material you’ll require. Remember that accurate measurement is vital; incorrect lengths can lead to wasteful spending or insufficient coverage during heavy rains. Once measured accurately, cut each section of the gutter accordingly using appropriate cutting tools while ensuring smooth edges free from burrs.
Installation begins by mounting fascia brackets along the eaves at intervals recommended by manufacturers—usually every 1-2 feet—to provide adequate support against weight from accumulated debris and rainwater later on. Securely attach these brackets using screws suitable for exterior use; ensure they’re aligned correctly so that installed gutters have an appropriate slope (generally about ¼ inch per ten feet) towards designated downspout locations facilitating effective drainage.
With brackets affixed firmly into place along the eaves’ entire length per earlier outlined measurements & cutting done already beforehand – proceed next with fitting actual sections themselves onto pre-installed supports following instructions accompanying chosen product lines closely whilst applying waterproof sealants wherever necessary between joints before finally securing everything tightly together via additional fastenings such as bolts/rivets if needed too afterwards ensuring no leaks occur once operational eventually post-completion here today!
Here are some steps for installing gutters on a house:
Prepare The Area
One of the first steps you should undertake is removing any existing tiles that might obstruct the installation path. This not only ensures a smooth fit but also prevents potential damage to both the tiles and the new gutter system.
Additionally, giving your fascia a fresh coat of paint before installation can significantly enhance both its durability and aesthetic appeal. Painting prior to fitting allows for even coverage and protects the wood from weather-related wear over time. By taking these preparatory measures, you’ll ensure that your new gutters are not only functional but also contribute positively to your home’s overall appearance.
Investing time in these initial steps can save you from future headaches, making gutter installation a straightforward task while enhancing your property’s value with minimal effort. So before you begin, remember: prepare well to install with ease!
Position The Brackets
When it comes to installing gutters, the positioning of brackets is crucial for ensuring a reliable and long-lasting system. Begin by attaching a bracket near the top of the fascia board at one end of your gutter. This initial positioning sets the foundation for a secure fit and proper water flow.
To maintain stability and prevent sagging, space your brackets no more than 800 mm apart. If you have a steep roof, it’s wise to reduce this distance to 600 mm between brackets. This adjustment compensates for the increased volume and speed of water runoff, providing additional support where it’s needed most.
Properly spaced brackets not only enhance the durability of your gutter system but also ensure that it functions efficiently during heavy rainfall. By adhering to these guidelines, you’ll safeguard your property from potential water damage and enjoy peace of mind, knowing that your gutters are up to the task.
Position The Outlet
Positioning the gutter outlet correctly is a crucial step in ensuring the effectiveness of your drainage system. To achieve this, hold a plumb line over the drain to accurately mark where the gutter outlet should be placed on the fascia. It’s important to note that for optimal performance, the outlet must be positioned no more than 50 mm below the roof tiles.
This precise placement is essential as it ensures that rainwater flows seamlessly from your roof into the gutter system without any obstructions or overflow. By adhering to this guideline, you not only protect your property from potential water damage but also enhance the longevity and efficiency of your drainage setup. Remember, taking a little extra time to position your gutter outlet correctly can save you significant hassle and expense in future repairs or replacements. So, make sure you measure twice and install once for peace of mind during those inevitable rainy days.
Position The Downspout
When it comes to positioning your downspout, strategic placement can make all the difference in both functionality and aesthetics. One of the most effective ways to maintain the visual appeal of your home while ensuring efficient water drainage is by placing the downspout in a hidden corner of the house. This approach not only keeps your gutter system discreet but also enhances the overall look of your property.
By positioning the downspout in a less conspicuous area, you allow it to blend seamlessly with the architecture, avoiding any unsightly interruptions on your home’s façade. Moreover, this placement can help direct water away from high-traffic areas or garden spaces where excess moisture could cause issues over time.
Choosing a hidden corner for your downspout doesn’t mean compromising on performance. In fact, when installed correctly, it ensures that rainwater is channelled effectively from your gutters without drawing attention away from other design elements. So, next time you’re considering an upgrade or installation for your gutter system, remember that thoughtful placement can achieve both practicality and aesthetic harmony.
Install The Gutter
Begin at the outlet and employ the “back to front” method for optimal results. This approach not only simplifies the installation process but also ensures that each section of the gutter aligns perfectly with the next.
Start by gently pressing the first length of the gutter into the union bracket. It’s crucial to pay close attention to the insertion depth marks, as these guide you in achieving a snug and secure fit. These marks are your best ally in preventing leaks and ensuring that water flows smoothly through your gutter system.
By following this method, you not only enhance the efficiency of your drainage system but also extend its longevity. A well-installed gutter is less prone to issues such as sagging or detachment during heavy rainfall, making it a wise investment for any homeowner seeking peace of mind during inclement weather. So take your time with this step; it’s worth every moment spent perfecting it.
Add The Remaining Lengths
To ensure a seamless and efficient setup, adding the remaining lengths correctly is crucial. Start by fitting a union bracket securely to the end of the first length of gutter. This step is vital as it provides the necessary support and alignment for your gutter system. Make sure to screw it tightly into the fascia, ensuring that it’s level and stable.
Once your union bracket is in place, it’s time to fit the next length of gutter into this bracket. This process might seem straightforward, but it’s essential for maintaining a continuous flow of water along your gutters without leaks or blockages. By carefully aligning each section within its respective brackets, you not only enhance the durability of your gutter system but also protect your home from potential water damage.
Remember, taking these meticulous steps to fit each length will save you time and effort in future maintenance while providing peace of mind during heavy rains. Proper installation now means fewer repairs later—ensuring your home stays dry and protected for years to come.
Check The Slope
A well-calibrated slope ensures that rainwater flows smoothly towards the outlet without pooling or overflowing. Ideally, you should aim for a slight fall of about 10 mm for every 6 metres of gutter. This gentle incline is sufficient to encourage efficient drainage while preventing potential blockages and damage caused by stagnant water.
By taking the time to verify and adjust the slope of your gutters, you’re not just maintaining them—you’re safeguarding your home against water-related issues that could lead to costly repairs down the line. So next time you’re inspecting your gutters, remember: checking the slope isn’t just advisable; it’s essential for peace of mind and effective water management.
Installing rain gutters is an essential home improvement task that serves to protect your property from water damage by efficiently directing rainwater away from its foundation. This process involves a series of steps, starting with the careful measurement and planning of the gutter layout to ensure optimal performance. Once you’ve acquired the necessary materials, such as gutter sections, downspouts, and brackets, installation can commence. It’s crucial to maintain a consistent slope towards the downspouts for effective drainage.
Properly securing the gutters with hangers and ensuring all connections are sealed will help prevent leaks. Additionally, installing downspouts and ensuring they extend far enough from the foundation is critical in preventing water pooling and potential structural issues. Regular maintenance, including clearing debris and checking for damages, will ensure the longevity and effectiveness of your gutter system.
Are you looking for Gutter Cleaning in Andover? Look no further. Contact us at Abacus Window Cleaning to ask about our gutter cleaning service.